Creating an agent
Who can do it. Partner Manager role.
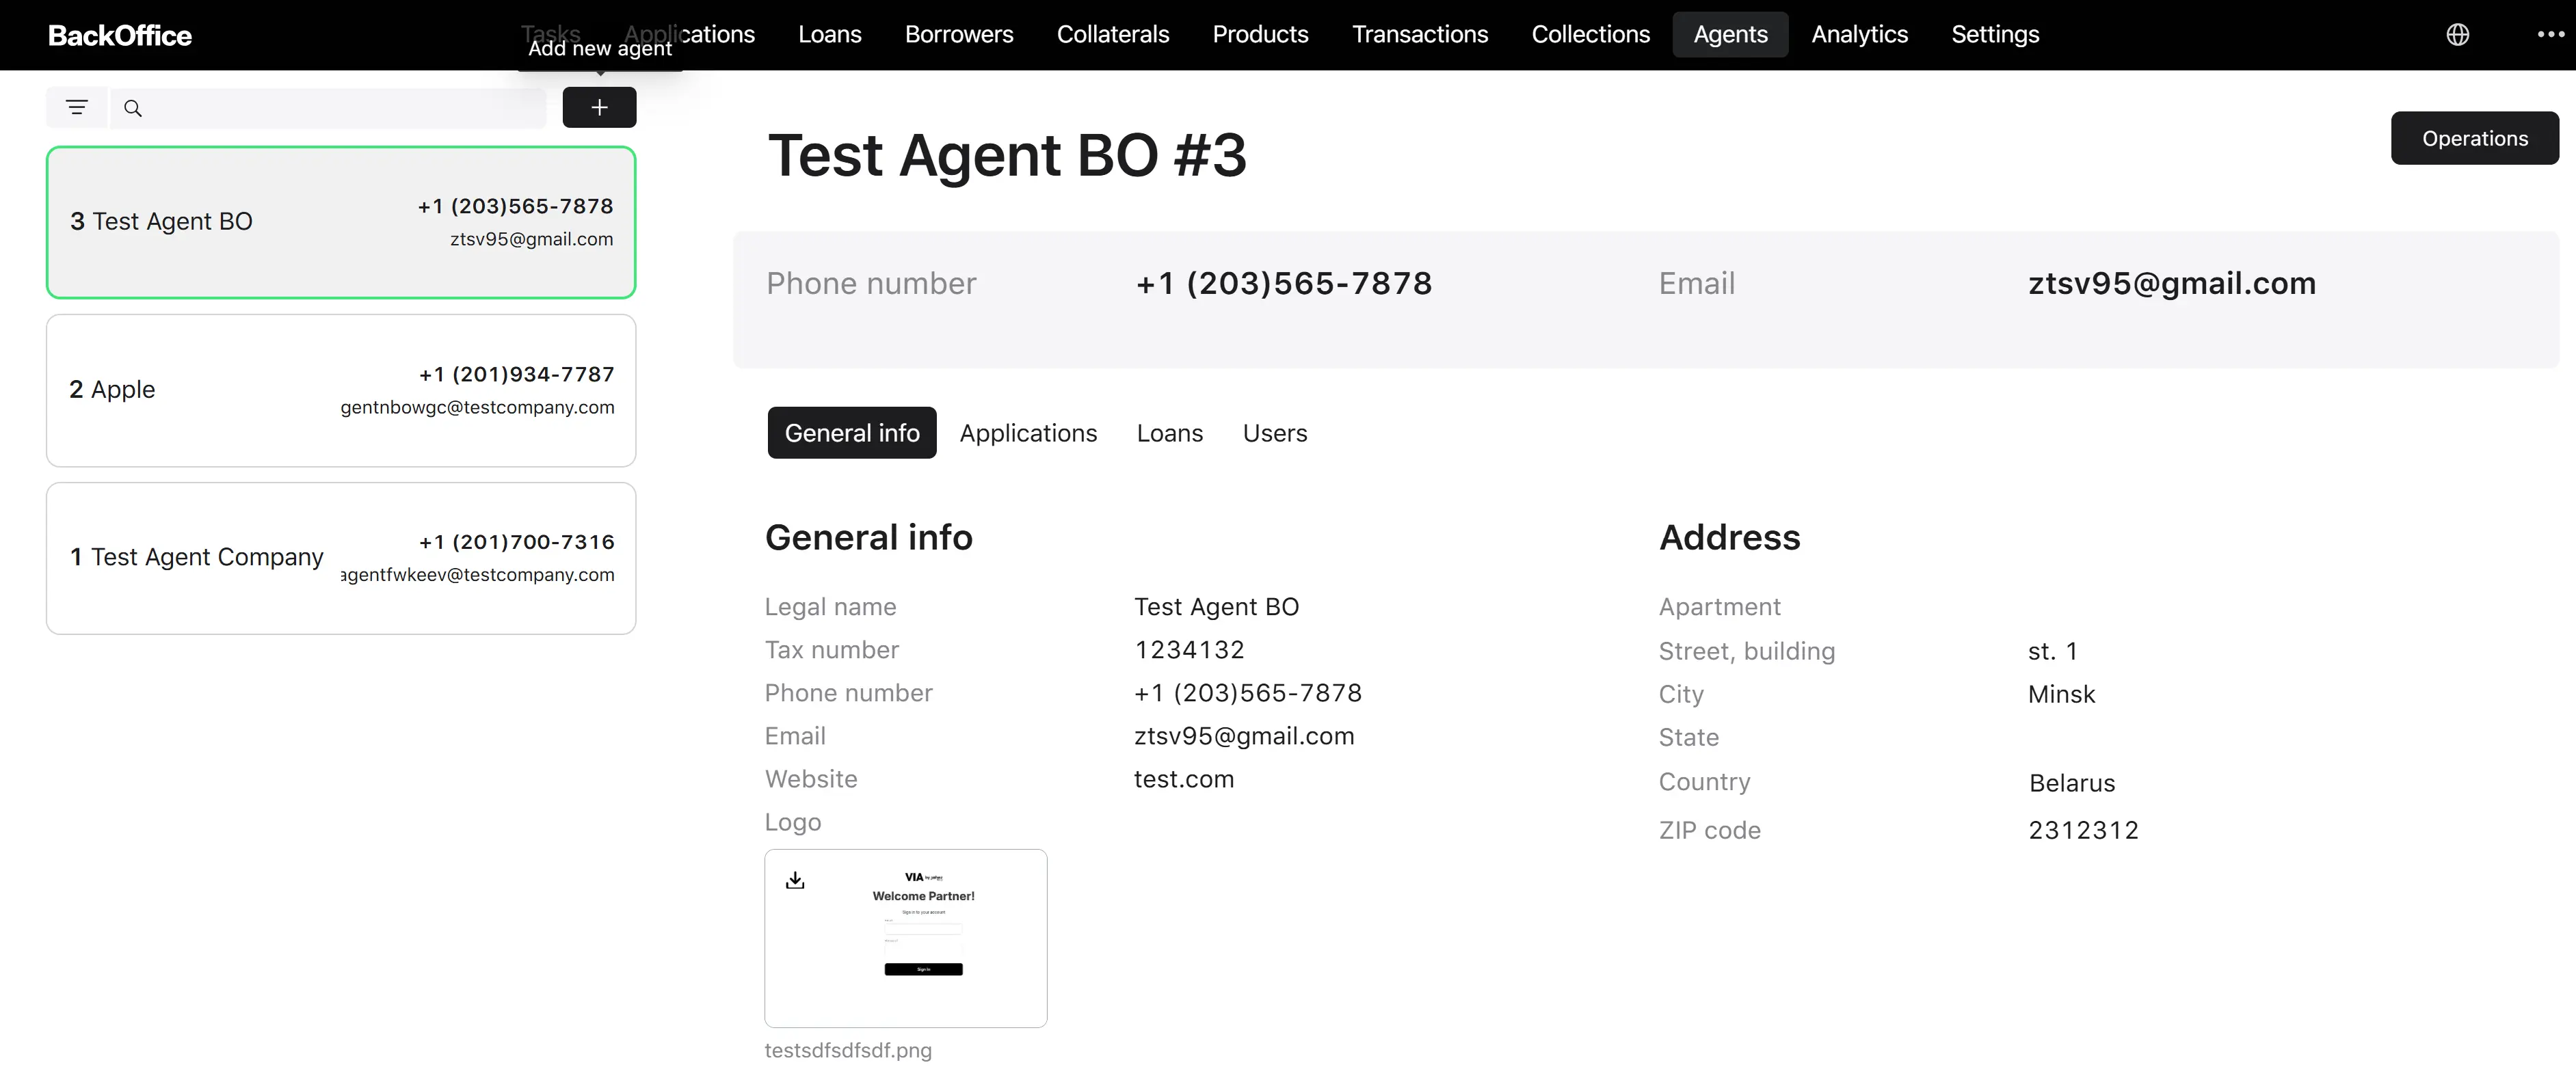
Where it starts. The “Create agent” button on the agent list screen.
Step 1. Open the create form
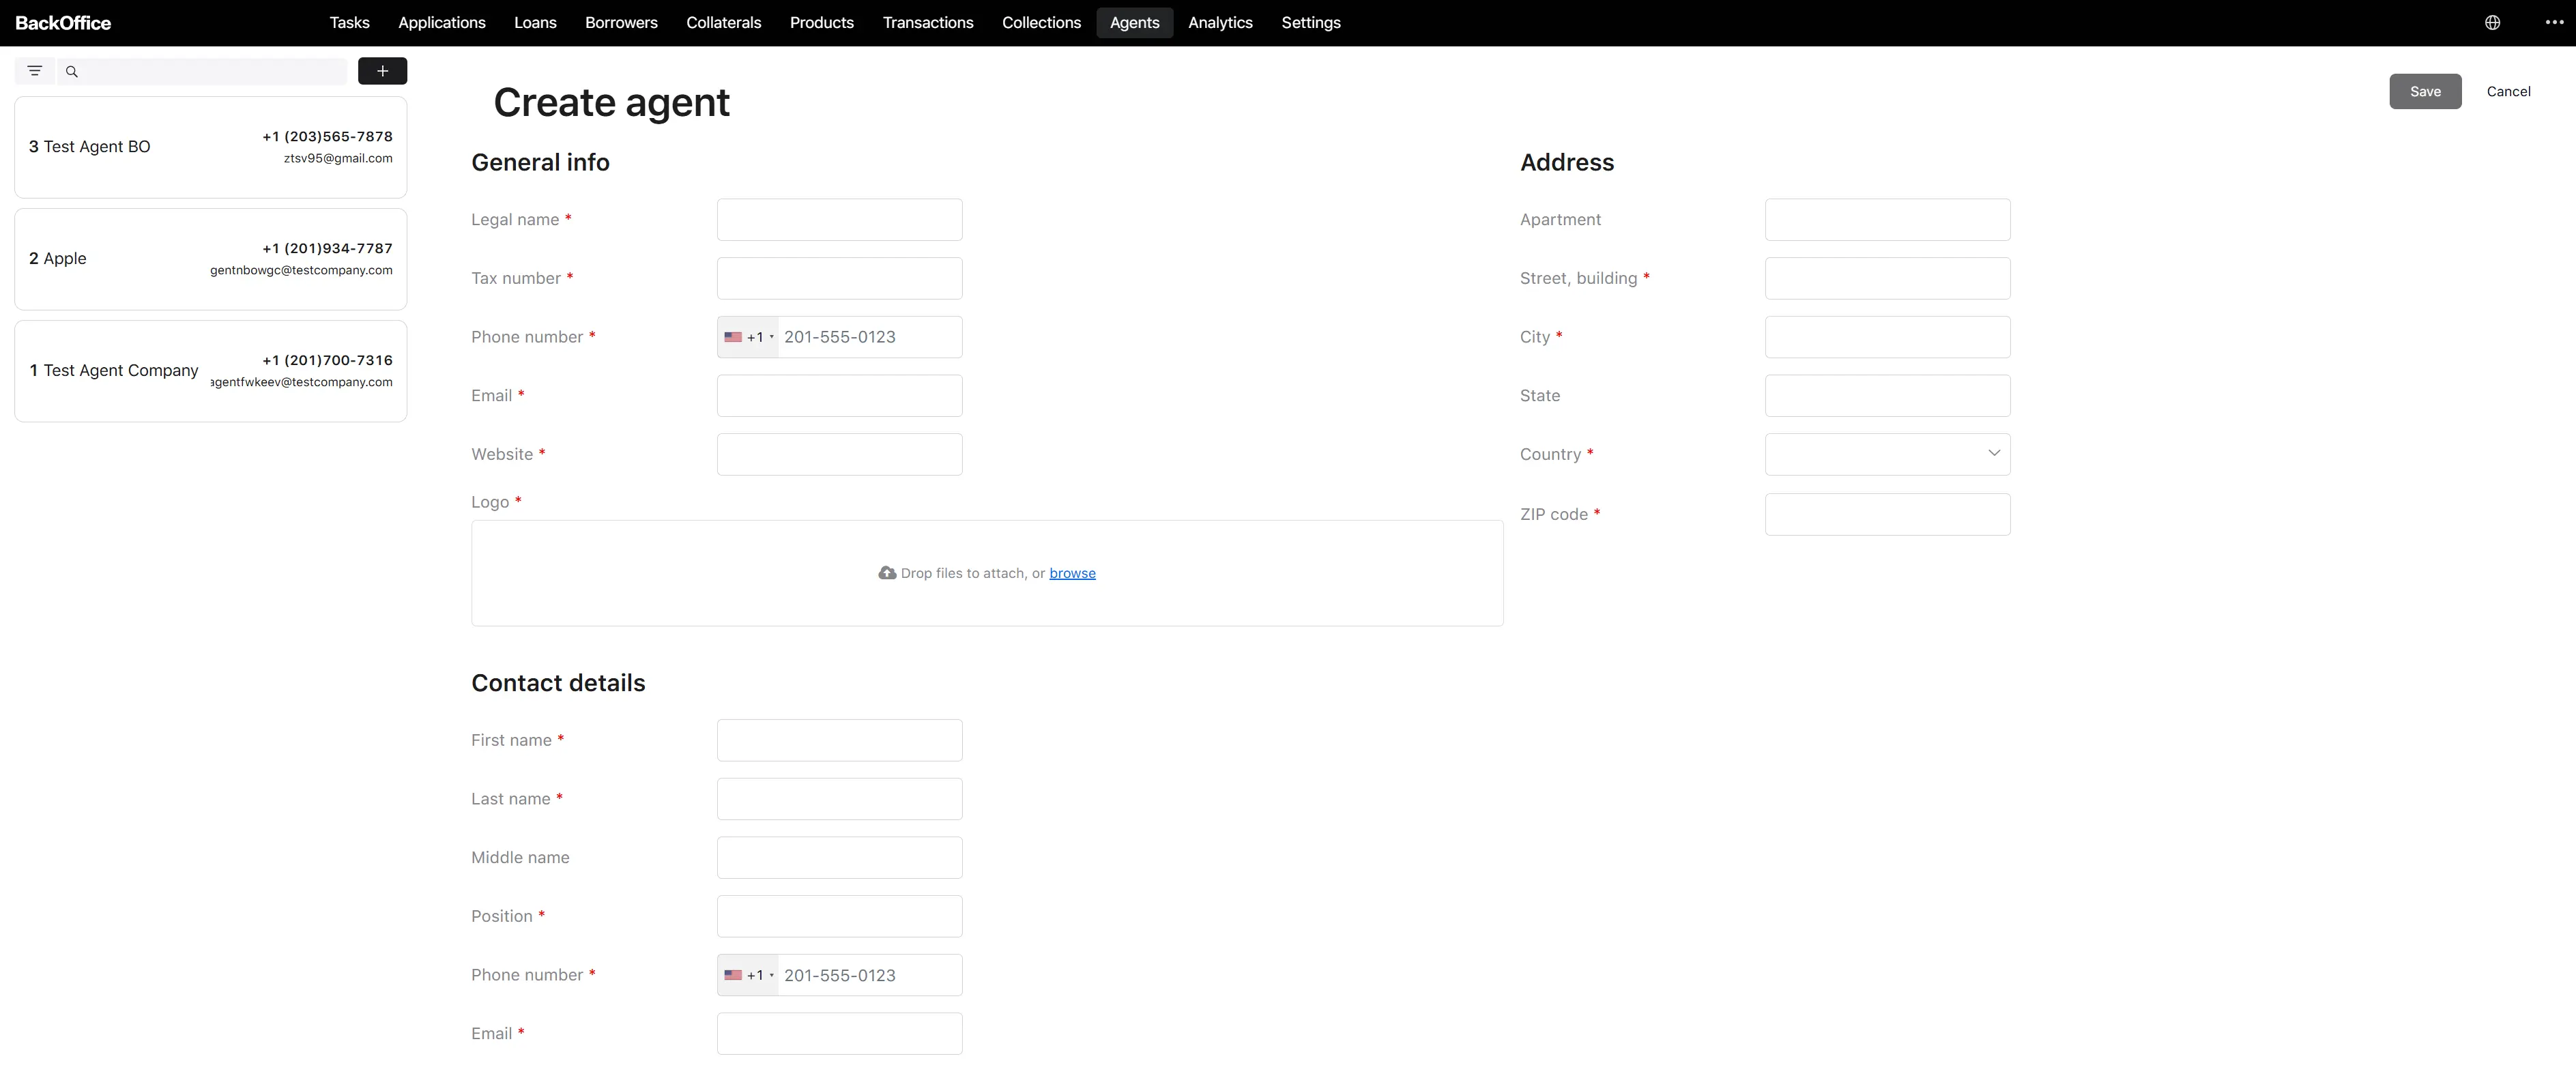
The user clicks Create agent on the agent list. The system opens the Create agent form.
Step 2. Fill the agent details
The user fills in the following parameters. All fields are required unless stated otherwise.
| Parameter | Description | Type | Required | Notes |
|---|---|---|---|---|
| Legal name | Official name of the partner organization | Text | Yes | Up to 22 characters; multiple spaces are collapsed; must be globally unique (case-insensitive) |
| Tax number | Tax identifier of the organization | Text | Yes | Up to 255 characters; only letters, digits, underscore, and hyphen are kept; must be globally unique (case-insensitive) |
| Phone number | Primary phone of the agent | Phone | Yes | Digits only; an optional leading + is allowed |
| Primary email of the agent | Yes | Up to 132 characters; lowercased; must match a standard email pattern | ||
| Website | Agent’s website URL | URL | Yes | Up to 255 characters |
| Logo | Logo image of the agent | File upload | Yes | Allowed types: JPG, JPEG, PNG, SVG; max size 20 MB |
Step 3. Fill in the address
The user fills in the structured address (country, state/region, city, street, postal code, etc.) in the Address panel.
Step 4. Fill in the contact details
The user enters the contact details for the representative of the partner organization.
Step 5. Save
The user clicks Save. The system:
- Validates every field. If any required field is empty, invalid, or duplicates another agent’s legal name / tax number, an inline error message is shown, and saving is blocked.
- Stores the agent record.
- Opens the newly created agent’s detail page.
The user can also click Cancel at any moment to close the form without saving.
Note
- At this point, the agent has no users yet — it is just a partner organization profile. Inviting a user is a separate action (see “Invite an agent user” below).
- Bank account details are not collected on the create form; they are filled in later as part of the invitation workflow.